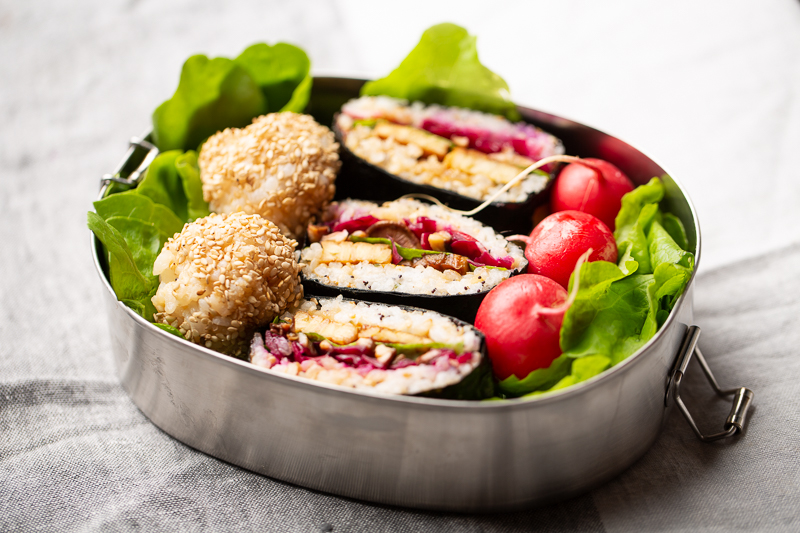
19 Mar Vegan Onigirazu aka Sushi Sandwiches
The last months I’ve been exploring new lunch ideas and snacks for my kids. Its probably hard to believe that a foodblogger and someone who generally obsesses over food has difficulty making snacks for my kids. I am probably the least creative snack maker on the planet. The daily snack usually consists of two slices of bread with vegan butter, mabey tahini and sometimes a couple of carrot sticks or an apple. Its terrible, isn’t it? Well, you can imagine how happy I am when day after day I find mouldy, uneaten snacks or worse, they tell me “Mom, I don’t need a snack today!” My culinary ego is wounded and that is not a pretty sight! Well, after many such occasions I did some research and stumbled across this amazing discovery. “Onigirazu” is the lesser known cousin of “Onigiri”, sold pretty much on every corner in Japan and packed in countless Japanese children’S lunch boxes or should I say, bento boxes.
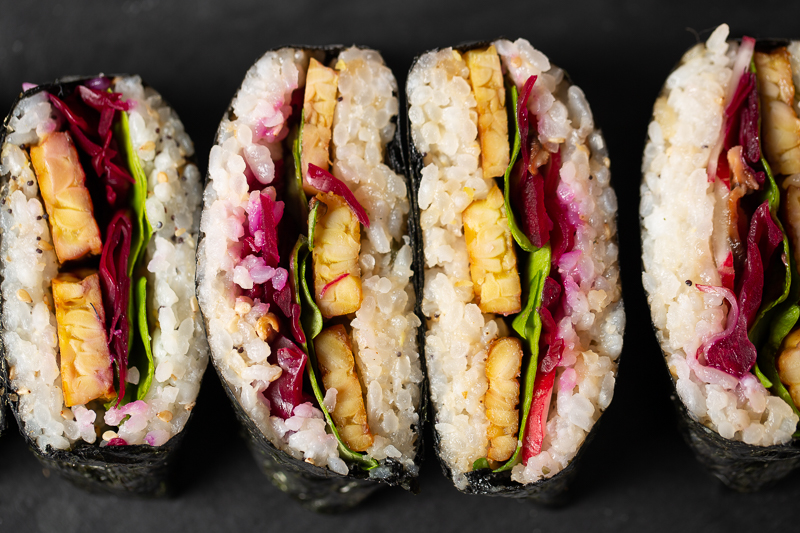
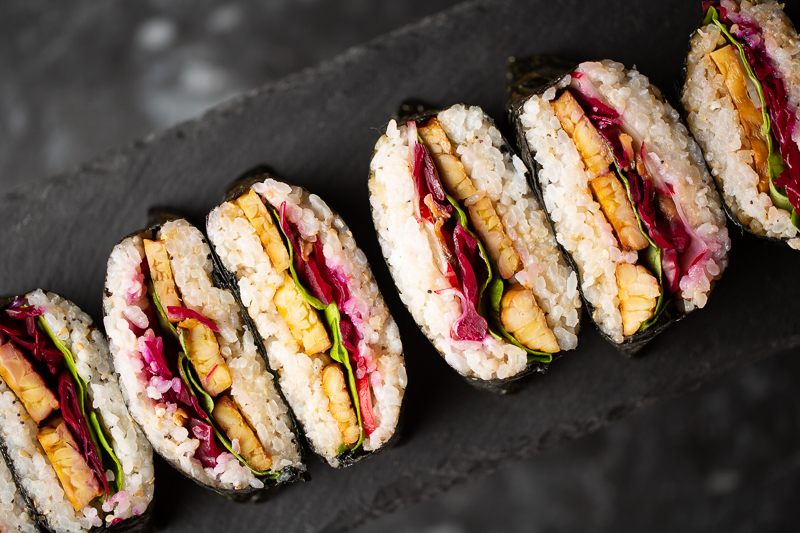
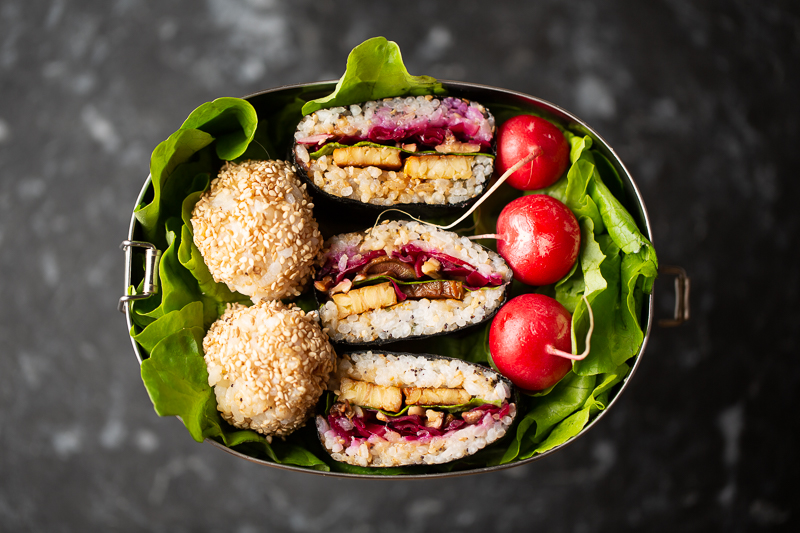
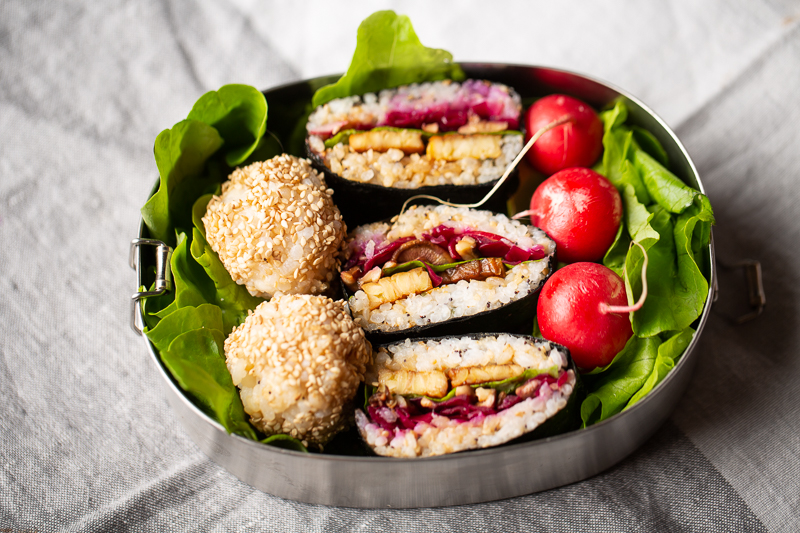
Onigirazu is a little more substantial then Onigiri and is essentially a rice and nori-wrapped sandwich. The base is always sushi rice, a nori sheet and the fillings can be as simple or as wild as you like. It can be only veggie, entirely raw, cooked, fermented etc. (you get the idea?) I like to a have a source of plant-based protein (this time tempeh), something fermented (I made my own pickled red cabbage and beets) something raw (salad leaves, cucumbers, avocado, radishes etc.) and something cooked (I sauteed some shiitake mushrooms in Shoyu).
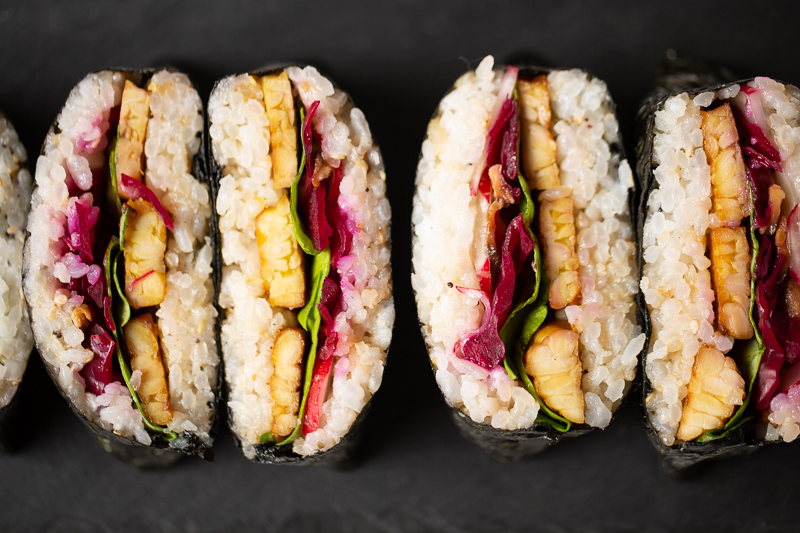
After all the components are put together its time for assembling them and that is really the most fun part. It does take time and yes, it is time-consuming if you are doing it for the first time but eventually it gets easier and it is a really fun project to do with kids. I recommend watching a few Youtube videos to figure out how to assemble them. Just type in folding onigirazu and you’ll find plenty of tutorials.
Japanese Sushi Rice
Although it may seem trivial, the most important part of onigirazu is the rice and preparing it requires a little practice. If your rice is too mushy it will be difficult to handle, if its too wet the nori sheets will get wet and the overall appearance won’t be that “zen”. So, preparing perfectly cooked rice is key and I will go into detail now about how to do it. I love geeking out about making simple things and I find it really makes a difference. In addition to that, it is like a meditation in movement and it puts me in a good mood. Extra bonus: Perfectly cooked rice is a great canvas for flavours so whether you’re making onigirazu, sushi, onigiri or whatever, great rice will always uplift your meal from boring to fabulous.
Rule No.1
Wash your rice in cold water three times. Put the rice in the pan you will cook it in and use your fingers to swirl and massage the grains. Pour the water away and refresh with clean water. Repeat the same process 2 more times.
Rule No.2
Use the right amount of water for cooking
Using the right amount of water will result in rice that is neither too mushy nor dry. IF you want to avoid measuring I suggest using this grandmas’ trick. After washing make sure the rice is level then use a measuring stick to measure from the bottom of the pan to where it finishes and mark it with your finger. You need that same level of water on top the rice. If using brow rice you have to add more water but for white sushi rice this works perfectly. Otherwise you can use the measurement I provide in the recipe.
Rule No. 3
Don’t cook with salt
For some reason, I’m not sure why, the texture of the rice is better without salt. Since you combine the rice with many flavouring after, the end result is not bland. Don’t worry!
Rule No.4
Don’t stir while cooking
I don’t think I need to elaborate on that one.
Rule No. 5
Use the rice on the same day preferably and don’t store in the fridge
After the rice is cooked I usually season it and then use it within the same day. When you prepare the onigirazu, you can store them for the next day but not the rice alone. This compromises the texture and it is then difiicult to form into the desired shape (triangular for Onigiri and square for Onigirazu).
Basic Recipe for Japanese White Rice
250 g white Japanese rice
380 ml water, to cook
Wash the grains with cold water directly in your cooking pot, trying to rub off as much of the cloudy starch as possible. Drain completely and then add the water. With the lid on the pot bring the rice to a boil reducing to a simmer over low heat for 15 minutes.
Remove from the heat and without removing the lid let it rest for 5 minutes.
You may add seasonings to your rice, like a little grated ginger, shoyu or sesame seeds. I like to add black sesame seeds to give the rice a more interesting look and added nutrition from the sesame seeds.

Vegan Onigirazu
Ingredients:
1 package of nori sheets, about 10 sheets
1 package of tempeh
shoyu or tamari for seasoning
2 handfuls of sesame seeds for the rice
1 Tbsp grated ginger
10 salad leaves like boston lettuce or other lettuce
radishes, sliced
100 g shiitake mushrooms
100 g sauerkraut, kimchee or other fermented food (I used red cabbage)
Method:
1.To prepare the fillings, slice the shiitake mushrooms and sautee them for a few minutes in shoyu or tamari. Set aside in a bowl.
2. Slice the tempeh into thin slices and marinate for half an hour in shoyu and a seasoning of your choice ( I used curry powder).
3. Wash the salad leaves and place them in a seperate bowl.
4. Wash and slice the radishes and place them in a little bowl.
5. Brown the tempeh on both sides by heating a pan, then adding oil and cooking the tempeh o both sides for a few minutes. Set aside.
6. Place the sauerkraut in a seperate bowl.
7. To assemble the onigirazu, place a sheet of nori in front of you on a clean surface. One corner should point towards you and the other away.
8. Place a bowl with warm water and a little bowl of salt at your side. Wet your hands and then put a sprinkle of salt on one hand and take about 3-4 tablespoons of rice and make a square with your hands and place it in the middle of the nori sheet.
9. Your rice square should be about 8 cm and max. 2 cm thick.
10. Add the fillings as evenly as possible, not overloading it. I started with a layer of radishes, then sauerkraut, shiitake mushrooms, salad leaf and lastly the tempeh.
11. Finish off with another square of rice and press it down with a firm but gentle hand.
12. To wrap:
Imagine wrapping a book. First take the left corner to the right and overlap the right corner to the left wetting the left corner with a touch of water and pressing the nori into it. Do the same with the bottom corners, tucking the folded corners in to ensure that no rice is visible.
13. Flip the onigirazu over and let it rest for a few minutes. The warm rice will help it to become more cohesive. Proceed in the same way with the other nori sheets.
14. At this stage you can pack it, eat it right away or slice it in half with a sharp knife and pack it into a bento box with other treats and have the most envy-worthy lunch box!


No Comments